


Introduction
Baking bread at home is a rewarding experience that fills your kitchen with irresistible aromas and gives you fresh, flavorful bread every day. While it may seem intimidating at first, understanding the right techniques and ingredients makes it simple to create the perfect loaf. Homemade bread allows you to control ingredients, avoid preservatives, and enjoy a healthier, more satisfying alternative to store-bought options. Whether you’re a beginner or have some baking experience, mastering bread-making is both enjoyable and achievable.
Understanding the Basics of Bread Making
Before diving into recipes, it’s important to understand the fundamentals of bread-making. Bread typically requires four essential ingredients: flour, water, yeast, and salt. Each component plays a vital role. Flour provides structure, yeast causes fermentation and rising, water hydrates the dough, and salt enhances flavor and controls yeast activity. Choosing the right type of flour affects texture and flavor, with all-purpose flour being versatile, bread flour offering higher gluten content, and whole wheat flour giving a hearty taste. Understanding these basics sets the foundation for baking consistent and delicious bread.
Choosing the Right Ingredients
Selecting quality ingredients ensures better results. Fresh yeast or active dry yeast guarantees proper rising. Filtered water at room temperature aids in smooth fermentation, while high-quality salt improves taste. Using unbleached, fresh flour provides better elasticity and flavor. Many bakers also incorporate small amounts of sugar, honey, or olive oil for enhanced taste and softer texture. Precise measurement is crucial; even minor deviations in water or flour quantity can affect dough consistency. By choosing ingredients carefully, you prepare the dough for a perfect rise and balanced flavor.
Mixing and Kneading the Dough
Proper mixing and kneading develop gluten, which gives bread its chewy texture. Start by combining your flour, yeast, salt, and liquid until the mixture forms a sticky dough. Kneading can be done by hand or with a stand mixer. Hand kneading allows you to feel the dough’s elasticity, while machines save time and effort. Knead until the dough becomes smooth, elastic, and slightly tacky. Over-kneading can make bread dense, while under-kneading results in a flat loaf. Mastering kneading is essential for creating bread with structure and a perfect crumb.
The Fermentation Process
Fermentation, or proofing, allows yeast to convert sugars into carbon dioxide, causing the dough to rise. After kneading, place the dough in a lightly greased bowl, cover it, and let it rest in a warm environment. This first rise, or bulk fermentation, typically lasts one to two hours, depending on room temperature. The dough should double in size. During this stage, the dough develops flavor and texture. For more complex flavors, some bakers use a slow, overnight fermentation in the refrigerator. Monitoring the dough’s rise is crucial to avoid over-proofing, which can collapse the bread.
Shaping the Loaf
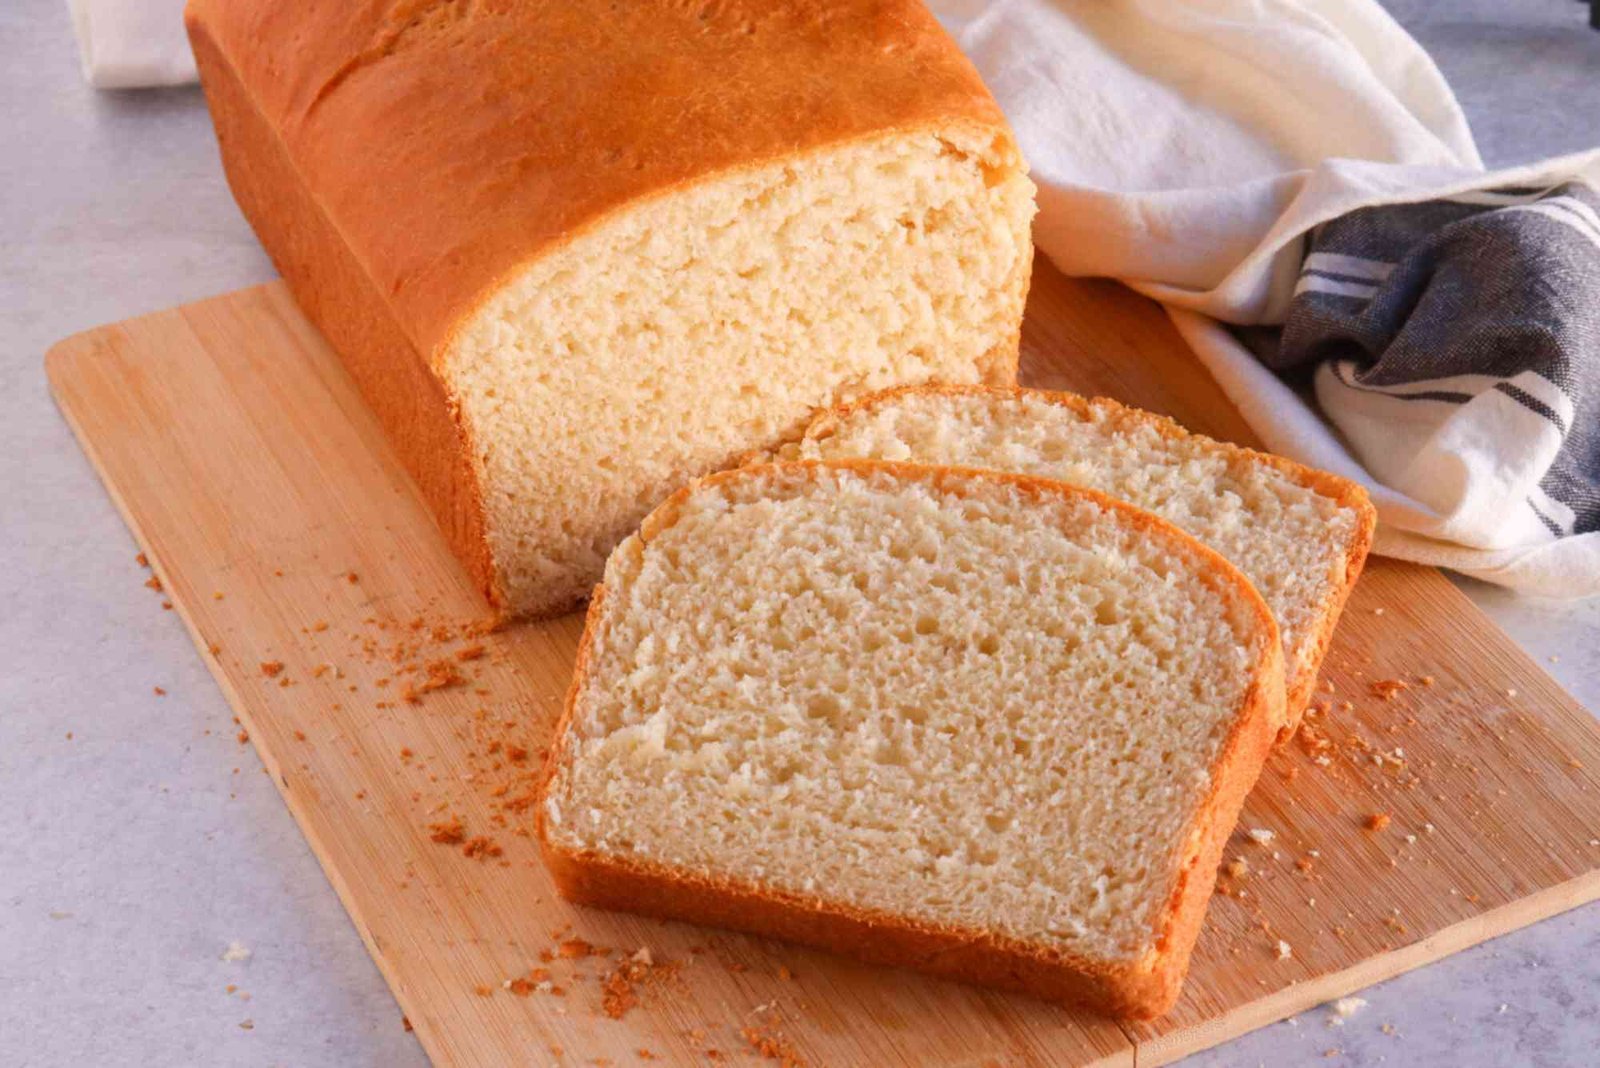
After the initial rise, gently deflate the dough and shape it into your desired form. Whether making a classic round boule, a rectangular sandwich loaf, or artisan-style batards, shaping affects the final appearance and texture. Handle the dough gently to preserve gas pockets, which contribute to a light and airy crumb. Once shaped, allow the dough to rise a second time, called the final proof, until it almost doubles. This step ensures even baking and a golden crust.
Baking Techniques for Perfect Bread
Baking bread properly ensures a crisp crust and soft interior. Preheat your oven to the recommended temperature, usually between 375°F and 450°F. A hot oven triggers oven spring, where the bread rises further in the first few minutes of baking. Adding steam to the oven, such as placing a pan of water at the bottom, helps create a shiny crust. Bake until the bread sounds hollow when tapped and reaches an internal temperature of about 200°F. Removing it from the pan promptly prevents sogginess. Let the bread cool on a wire rack for at least 30 minutes to set the structure before slicing.
Tips for Fluffy and Moist Bread
Several techniques can enhance the softness and flavor of homemade bread. Adding fats like butter or oil creates tender crumbs, while milk or yogurt can enrich texture and taste. Allowing the dough to rest adequately between steps improves gluten development and rise. Proper hydration ensures the dough is neither too dry nor too sticky. Additionally, scoring the dough with a sharp knife before baking controls expansion and gives an attractive pattern. Small details like these elevate homemade bread from ordinary to extraordinary.
Common Mistakes to Avoid
Even experienced bakers encounter challenges. Common mistakes include over or under-kneading, incorrect proofing, and uneven oven temperature. Over-proofed dough may collapse, while under-proofed dough results in dense bread. Using expired yeast or incorrect flour can hinder rising. Avoid adding too much flour during kneading; slightly sticky dough is preferable. Mistakes are part of the learning process, and observing dough behavior carefully helps you improve with each bake.
Storing and Serving Homemade Bread
Proper storage preserves freshness and flavor. Wrap cooled bread in a cloth or paper bag at room temperature for a couple of days. For longer storage, freeze the bread in airtight bags and thaw as needed. Avoid refrigerating, as it dries out the bread quickly. Homemade bread pairs beautifully with butter, jams, cheese, or fresh soups. Toasting or warming slightly enhances aroma and texture. Serving freshly baked bread is a satisfying experience that elevates any meal.
Making perfect homemade bread is an art that combines technique, patience, and quality ingredients. By understanding the fundamentals, practicing proper kneading, fermentation, shaping, and baking methods, anyone can create delicious loaves at home. Each step contributes to flavor, texture, and overall success. Begin with simple recipes and gradually explore variations with herbs, seeds, or whole grains. Embrace the joy of baking and share your creations with family and friends. Bake today and experience the magic of homemade bread. Experiment, enjoy, and let every loaf tell a story of warmth and flavor.
Start your day with energy and focus by choosing the right breakfast! Discover a variety of quick, nutritious, and delicious options that suit even the busiest mornings. Check out these best breakfast smoothies for busy mornings to fuel your body and kickstart productivity effortlessly.
FAQs
How long does it take to make homemade bread?
Typically, it takes 3–4 hours from mixing to baking, depending on the recipe and proofing time.
Do I need special equipment to bake bread at home?
No, basic tools like mixing bowls, a baking pan, and an oven are sufficient. A stand mixer is optional.
Can I use whole wheat flour instead of white flour?
Yes, whole wheat flour can be used, but bread may be denser. Mixing with bread flour improves texture.
Why is my bread dense instead of fluffy?
Dense bread often results from under-kneading, insufficient proofing, or using expired yeast.
How can I make a crusty loaf?
Baking with steam, scoring the dough, and using high oven temperature creates a crisp crust.
Can I freeze homemade bread?
Yes, wrap cooled bread in airtight bags for freezing. Thaw at room temperature when needed.